捡垃圾的快乐 - Aruba AP(瘦 AP)刷机变家用 IAP(胖 AP)
由于现在无线设备越来越多,同时需要兼顾看电影、打游戏、办公、智能家居、NAS 下载等,所以感觉现有的无线路由器有点力不从心,就咸鱼 200 块淘了一个 Aruba 的 AP-203R,希望 MU-MIMO 能带来更好的体验。然后淘回来发现是个没办法单独使用的瘦 AP,查找了一番资料,发现可以刷机变成胖 AP 单独使用,这里做个记录。
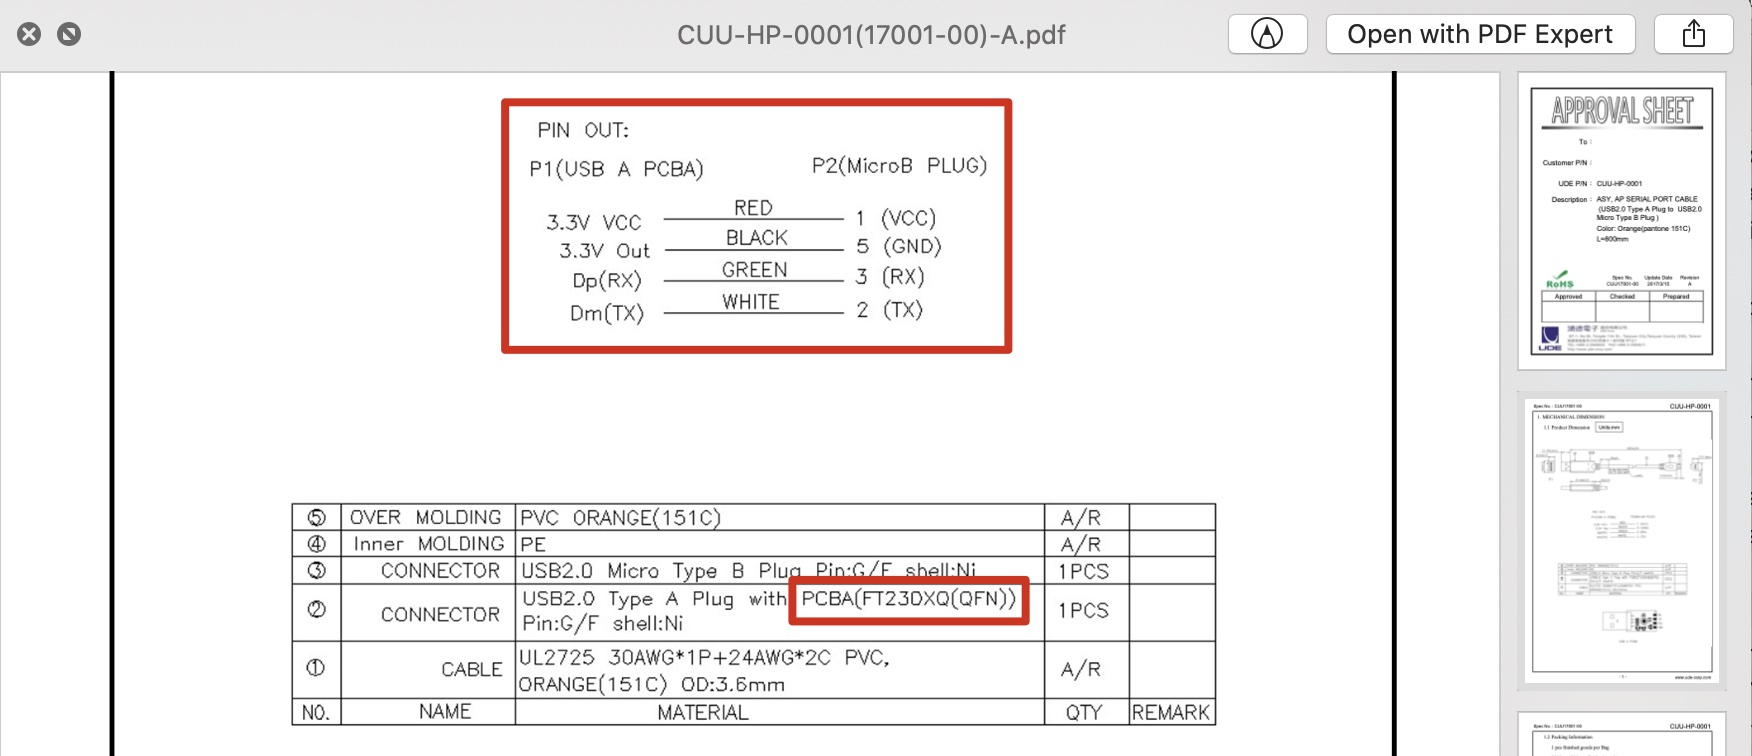
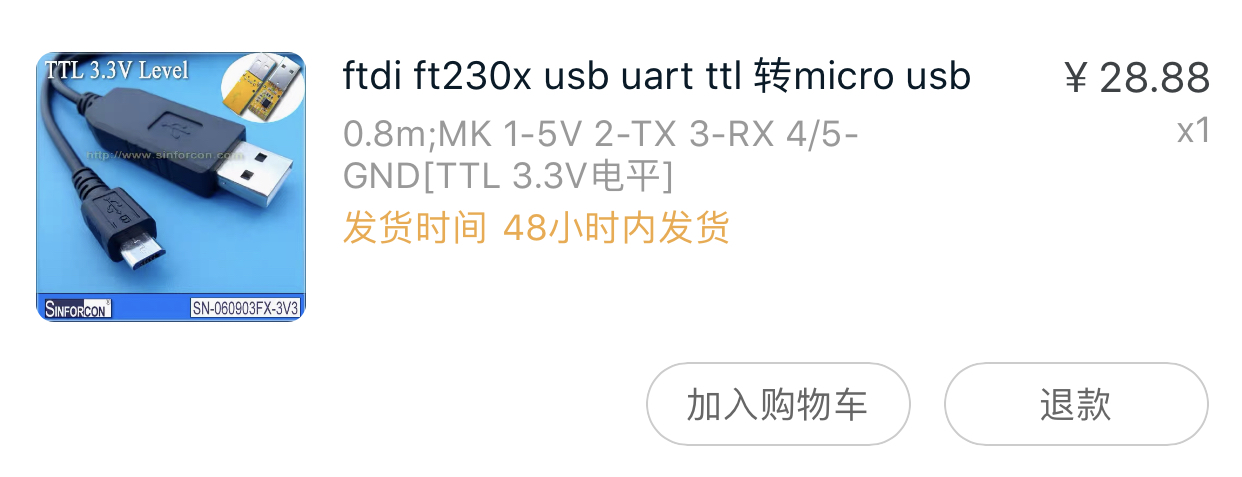
购买一条 TTL 线
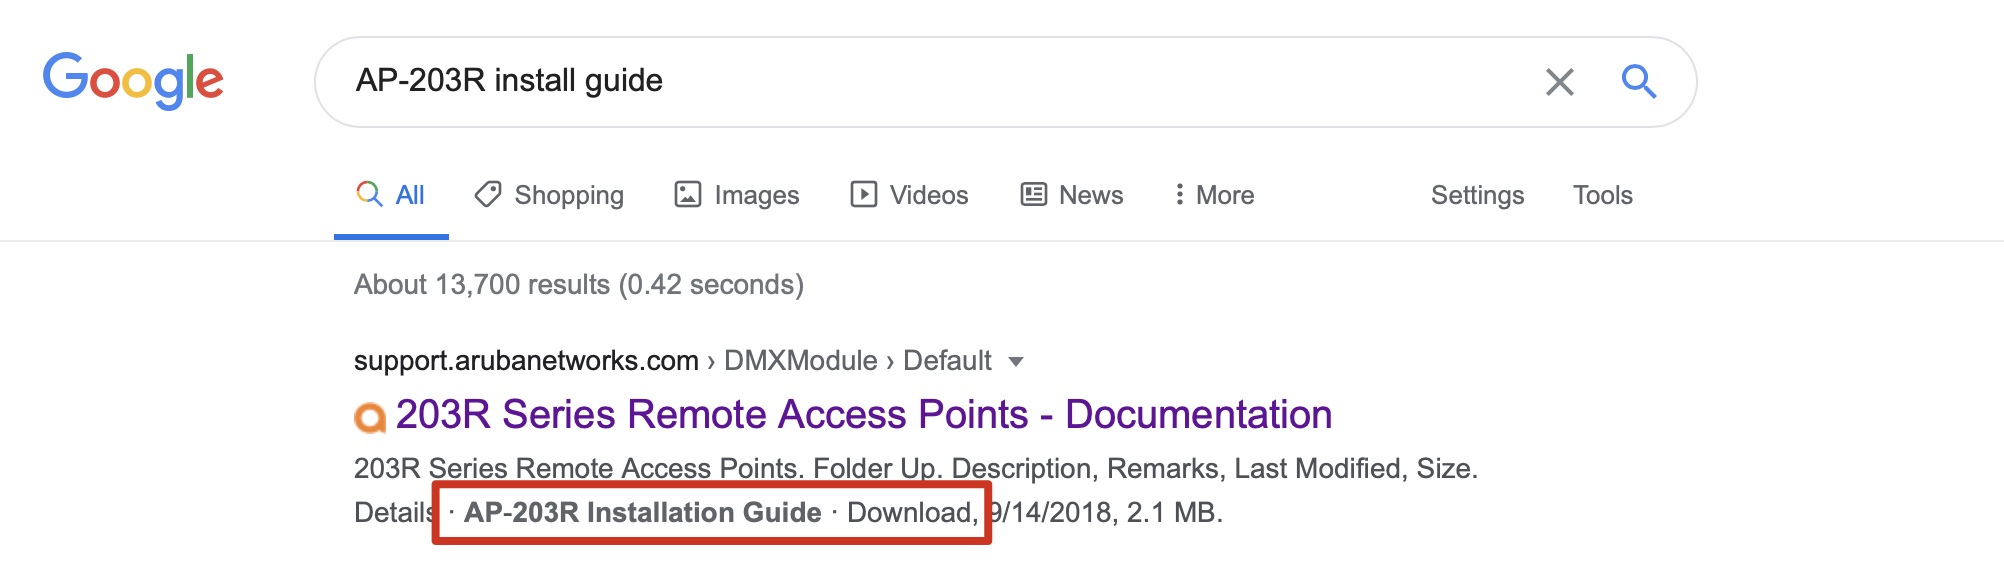
查看 aruba 官网相应版本的说明书(AP-XXX_Install_Guide.pdf),找到相应的 Console Port 说明信息,再查找推荐的 AP-CBL-SERU cable 信息,根据文档里的 CONNECTOR 去淘宝找相应的型号,根据文档提供的线序购买。


准备软件和资料
- Serial(串口)连接软件(Windows: Putty; macOS: Serial.app)
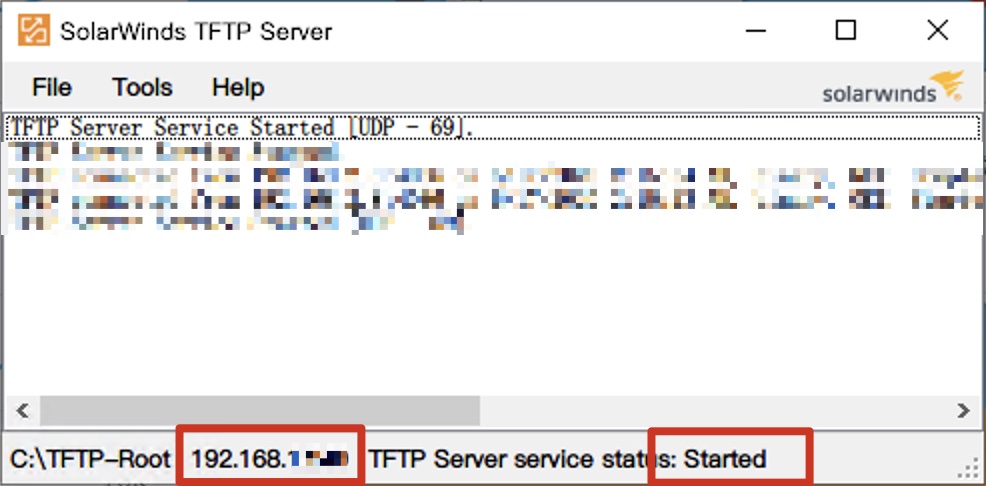
- TFTP Server 软件(Windows: SolarWinds TFTP Server; macOS: 自带 TFTP Server)
- 需要刷入 AP 的系统固件(如
ArubaInstant_Vela_8.5.0.3_72498,以及其他固件) - 将固件移动到 TFTP Server 的根目录下,如 SolarWinds TFTP Server 的
C:\TFTP-Root - 重要 :关闭电脑防火墙
- 启动 SolarWinds TFTP Server,显示如下:
启动 AP
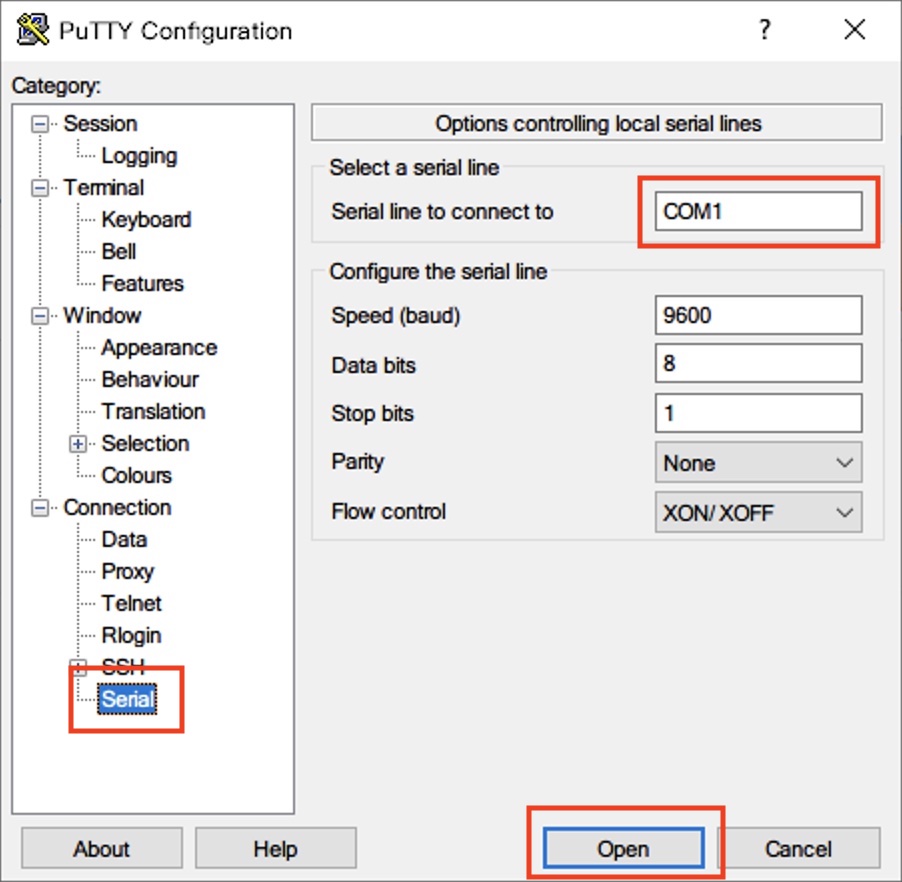
(使用的软件以 Windows 平台为例)首先断开 AP 的电源,把 AP 通过串口连接到电脑上,等待提示驱动安装成功后,打开 Putty,选择连接方式为 Serial,按照开始菜单(右键) - 设备管理器中显示的串口号,选择连接的串口,如 COM1,点击 Open 打开:

然后把 AP 接上电源,等待窗口中出现如下字符:
1
Hit <Enter> to stop autoboot: 5
立即按回车,进入 apboot 模式:
1
apboot>
配置网络
将 AP 通过网线连接到电脑,在电脑上设置相关接口为固定 IP 地址,如 192.168.2.10:

然后开始设置 AP 的地址和 TFTP 服务器
1
2
3
apboot> setenv ipaddr 192.168.2.20 # 配置 AP 的 IP 地址
apboot> setenv netmask 255.255.255.0 # 配置 AP 的子网掩码
apboot> setenv serverip 192.168.2.10 # 配置 TFTP 服务器地址,即电脑的 IP 地址
开始给 AP 刷入新固件
1
2
3
4
5
6
7
8
9
10
11
12
13
14
15
16
17
18
19
20
21
22
23
24
25
26
27
28
29
30
31
32
33
34
35
36
37
apboot> osinfo # 显示系统中的固件
Partition 0:
    image type: 0
  machine type: 46
          size: 13864872
       version: 6.5.2.0-6.5.2.0
  build string: ArubaOS version 6.5.2.0-6.5.2.0 for Vela (p4build@pr-hpn-build01) (gcc version 4.7.2) #59123 Fri Apr 7 09:37:25 AST 2017
         flags: Instant preserve
           oem: aruba

Image is signed; verifying checksum... passed
SHA2 Signature available
Signer Cert OK
Policy Cert OK
RSA signature verified using SHA2.

Partition 1:
    image type: 0
  machine type: 46
          size: 13864872
       version: 6.5.2.0-6.5.2.0
  build string: ArubaOS version 6.5.2.0-6.5.2.0 for Vela (p4build@pr-hpn-build01) (gcc version 4.7.2) #59123 Fri Apr 7 09:37:25 AST 2017
         flags: Instant preserve
           oem: aruba

Image is signed; verifying checksum... passed
SHA2 Signature available
Signer Cert OK
Policy Cert OK
RSA signature verified using SHA2.

apboot> clear os 0 # 清除分区 0 的系统
apboot> upgrade os 0 ArubaInstant_Vela_8.5.0.3_72498 # os 0 分区刷入 TFTP Server 中的 ArubaInstant_Vela_8.5.0.3_72498 固件

# 当看到 Upgrade successful 表示刷入成功

apboot> factory_reset # !重要:清除原来的配置
建议将两个分区刷入同样的固件。
配置 IAP
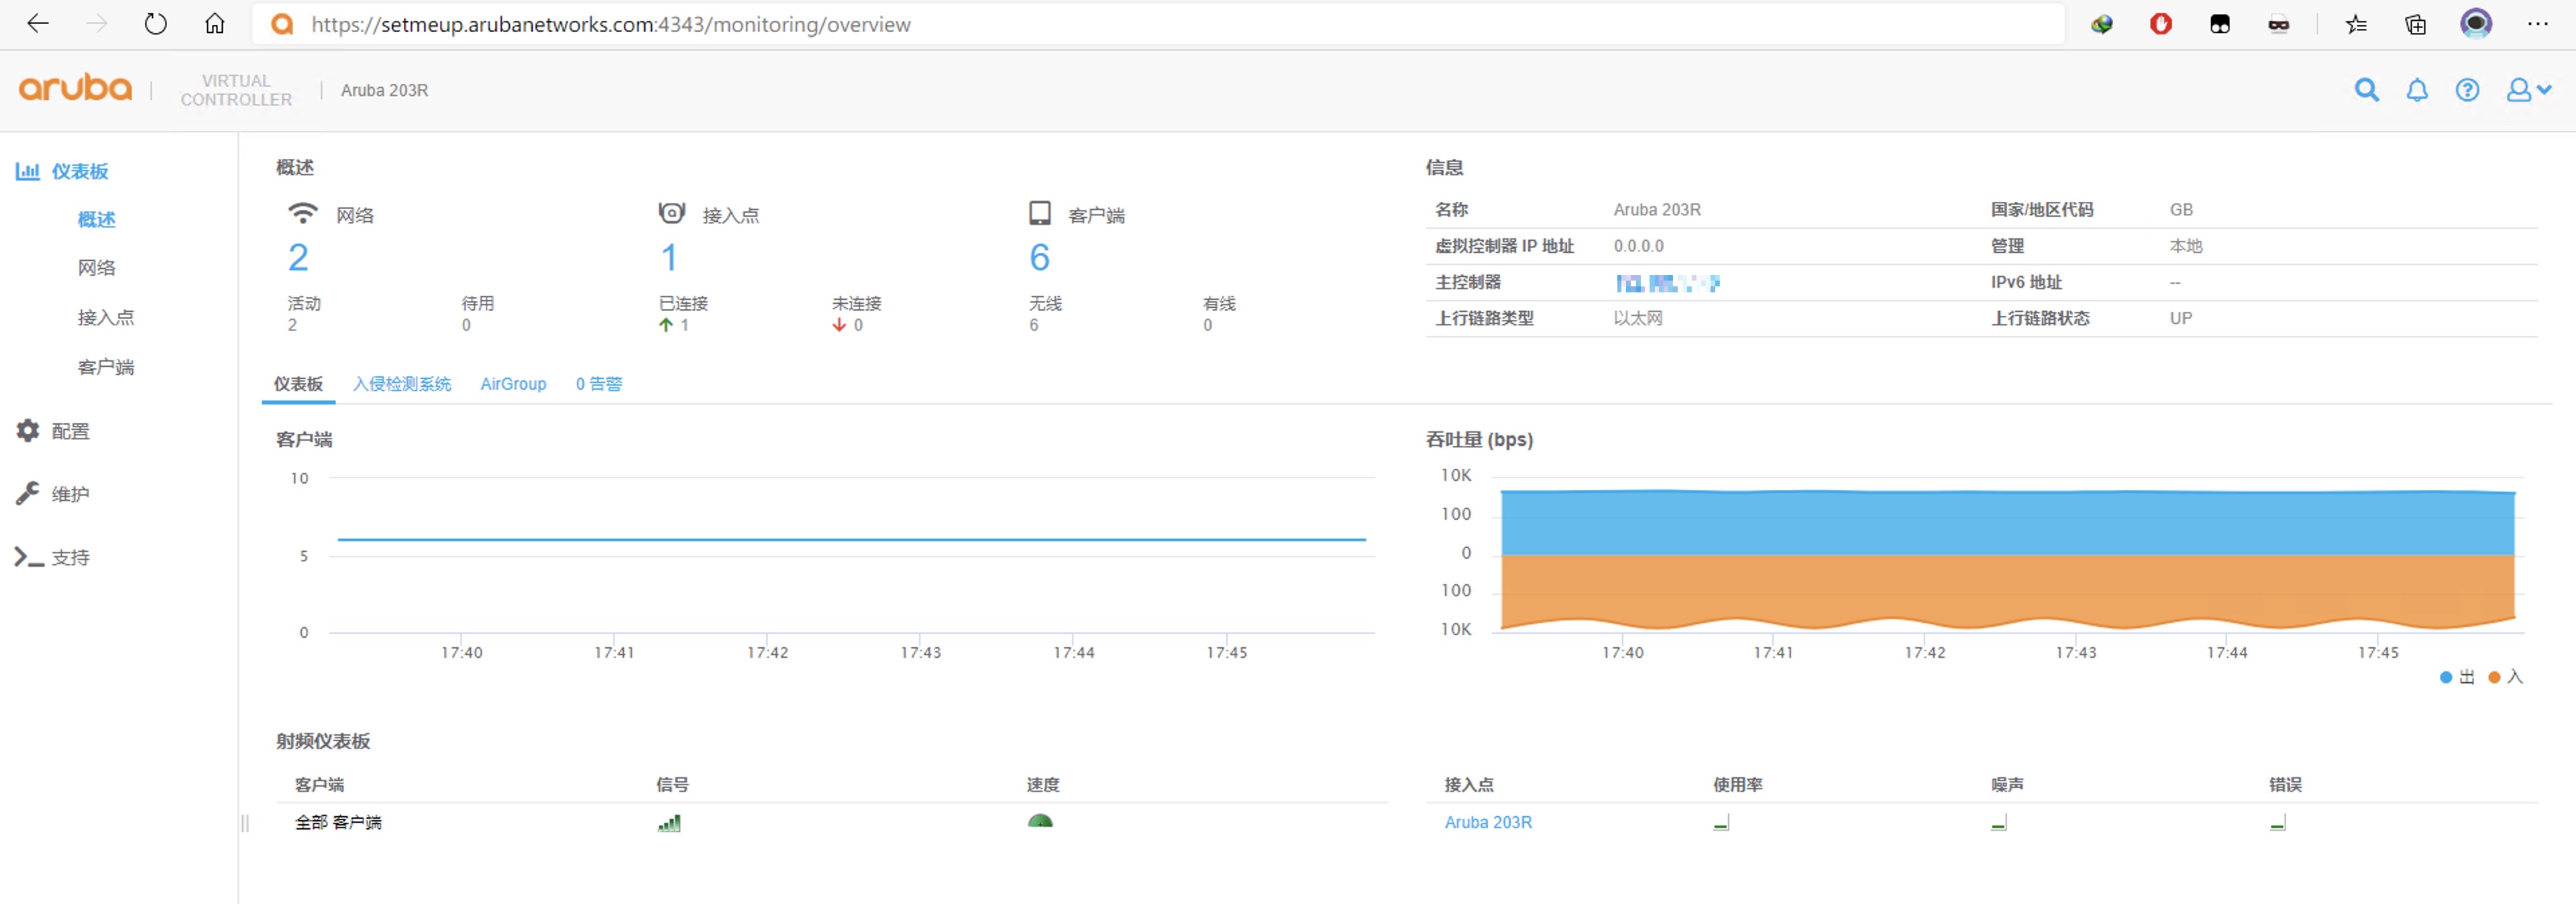
等待 5 分钟左右,会出现一个 SetMeUp-XX:XX:XX 类似的名字的 Wi-Fi 信号,就是刷新后的 Aruba IAP 的初始网络。
连接上去后,打开浏览器,输入网址 https://setmeup.arubanetworks.com:4343/ (有可能浏览器会提示此网站证书不受信任,直接点仍然继续访问)进入 web 设置界面,使用账号 admin 和密码 机器的 SN 号 登陆(8.5 以下系统是 admin/admin,开始和普通无线路由器一样设置网络。
需要配置的地方为:
- 配置 - 接入点:设置 AP 的接入方式,如连接主路由,只需要在
常规选项中选择 DHCP 即可 - 配置 - 网络:设置 Wi-Fi,新建即可,在高级选项中可以选择 2.4G 或 5G 网络,是否隐藏 SSID,加密方式等
设置完毕,将 AP 连接到路由器上就可以正常使用了。